The Ultimate Guide to Local and Private Home Automation — Part 1: Foundations
The first in a series of posts about how to stand up your very own local and private home automation system using Home Assistant.

Welcome to the first in a multi-part series about how to create an entirely local and private home automation system with any off-the-shelf hardware and Home Assistant. By the end of the series, you will have a home automation system that is controlled entirely and solely by you, with no third parties involved to steal or sell your data.
Many people have asked me about my home automation system and how I keep everything local, so I decided it was finally time to write about it and hopefully answer some burning questions along the way.
This first part will focus on the hardware requirements, how to set up Home Assistant, and optionally how to set up your network firewall to enforce local access. Let's get started!
Hardware
For most use cases Home Assistant does not require super powerful hardware, so it can be installed on (normally) cheap hardware such as a Raspberry Pi, but if you want to do more complex things such as running addons alongside Home Assistant or processing security camera footage, you may want to consider more powerful hardware. Let's go over which may be best for you.
Raspberry Pi
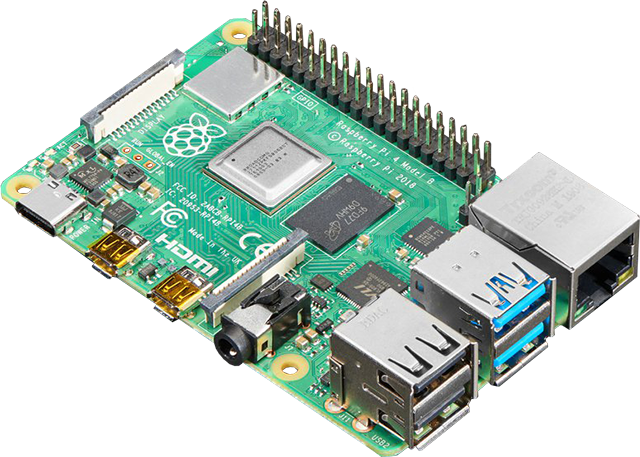
A (normally) inexpensive option, Raspberry Pis are perfect for a typical Home Assistant installation. Home Assistant has a lot of supporting documentation for running it on a Pi, like the installation guide. It's generally the most frictionless way to get started with a Home Assistant installation.
Pros
- Usually cheap
- Frictionless Home Assistant install
- Lots of excellent documentation
Cons
- MicroSD card prone to failure
- Not terribly powerful — best for light setups
Intel NUC
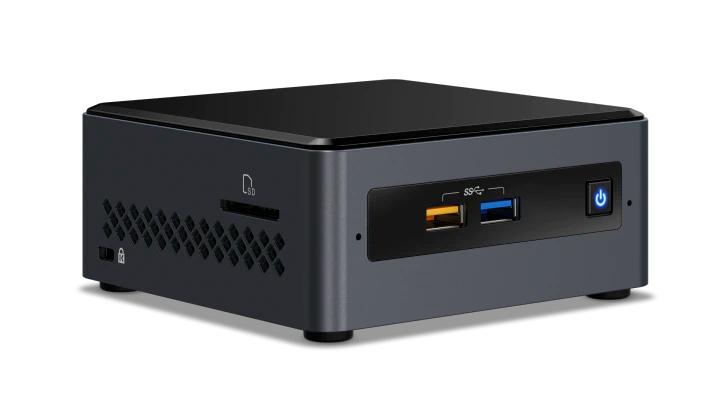
If you need a bit more power, then you may want to look into getting an Intel NUC. NUC stands for "Next Unit of Computing," but they are basically just x86 PCs in a little box. Due to their small form factor and all-in-one-ness, they are a pretty popular choice for those who want to get more performance from their Home Assistant install.
Newer NUCs are pretty expensive, but a quick search on eBay, Craigslist, or whatever other used electronics site you browse will likely reveal great deals on older NUCs. I found and purchased an Intel NUC7i5BNK for $319 on eBay, and it has been perfect.
Pros
- Plenty of power
- Runs Home Assistant OS without a hitch
- Upgradeable RAM and storage
- Extra M.2 slots for expansion
Cons
- Moderately expensive
- Installation is more manual than Raspberry Pi
The Laptop You Have Lying Around
This is a completely valid option! If you have some extra compute lying around — in the form of a laptop, desktop, or something else — then it's perfect to put to use for Home Assistant. And it won't cost you anything extra since you already have it!
The only downside is that installation may not be straightforward depending on the hardware, but as long as its architecture is x86-64 compatible, then you can follow this installation guide.
Pros
- Totally free
- Saving the planet by reusing
Cons
- Install might be complicated
- Support options and documentation are limited depending on the hardware
Something Else
Home Assistant's official documentation includes guides for different hardware and operating systems, if you want to take a look:
 Home Assistant
Installing Home Assistant OS
Now that you have decided on what hardware to use, it's time to install Home Assistant on it. There are a few ways to install Home Assistant, and you can get super creative with how you do it, but in this guide I will go with the path of least resistance: Home Assistant OS.
Home Assistant OS is, as the name implies, an operating system dedicated to running Home Assistant (and its addons). It comes out of the box with everything you need to have a working Home Assistant installation and is entirely managed for you. There is very little maintenance required if you go with this option. No need to worry about packages, security fixes, etc. — those are all included with the OS updates which can be installed directly from the Home Assistant UI.
Though it is easy-to-use and low-maintenance, HAOS is very opinionated, and you may not like that. It's very different from a traditional Linux distro in the terms of control that it provides to the user. If you prefer, you may use one of the other installation methods like Home Assistant Container, Supervised, or Core, but I will not go into detail in this guide for brevity. (Plus, I assume if you want to go with one of these other methods, you already know what you're doing!)
Raspberry Pi
If you are using a Raspberry Pi, visit Home Assistant's dedicated Raspberry Pi setup guide. Follow the section for Home Assistant OS:
Home AssistantIntel NUC + Everything Else
If you decided to go with an Intel NUC or any other x86-64 PC, you can follow Home Assistant's guide on that here:
Home AssistantNetwork Firewall
This step is optional but recommended to keep your setup entirely local and to prevent any IoT devices from connecting to the internet. The exact steps will vary based on the equipment you use, but the general idea is:
- Create an SSID dedicated to IoT devices
- VLAN that SSID
- Restrict the VLAN so that it cannot make or receive connections from the internet
- Optionally, only allow connections to and from your Home Assistant box
That's all for this part. In the next we will explore some cheap, local-first sensors, lights, and other IoT devices that protect your privacy. Make sure to subscribe below to get notified when it's posted!